

Applying wallpaper to an accent wall or an entire room is a great way to express your personal style and bring a stunning look to your home. However, doing it yourself can be a little intimidating. Well fear not, the DIY Detectives have hunted down all that you need to know about putting wall paper up without the stress. Read on to learn what you will need and follow our step-by-step guide.

DIY Detectives is a participant in affiliate marketing and partnered with various retailers, including the Amazon Services LLC Associates Program, an affiliate program designed to provide means for sites to earn advertising fees by advertising and linking to amazon.com (or other affiliate partnerships). All opinions remain our own.
Today’s Home Wallpaper
Let’s start with these three words:
Peel. And. Stick.
The most popular wallpapers on the market for do-it-yourselfers are the peel and stick styles. They come in a variety of prints and patterns (check out our favorites here) and they come without all the mess of wallpapers of yester-year.
With a little bit of knowhow and patience, even a novice can get the job done of applying wallpaper to any wall in their home.
Gather Your Measurements
Grab your measuring tape and jot down the wall space you are wanting to apply your wallpaper to. Then check out what size rolls are available for the wallpaper you have decided on. Depending on your space you will likely be ordering more than one roll. Also, it may be a good idea to get a little extra, just in case.
Do I Need Any Other Tools?
Yes, but most of these you can find around the house. Some things that can help to assure you get the best wallpaper application experience are:
- a sponge or cleaning cloth along with an all purpose cleaner.
- a measuring tape
- a ruler
- a level
- a pencil
- a wallpaper smoothing tool
- a utility knife
- peel and stick wallpaper (of course)
It,s a great idea to order an inexpensive wallpaper tool kit like the one below from Amazon.

How to Apply Peel and Stick Home Wallpaper
Before you begin you will have already measured your walls and purchased the amount of peel and stick wallpaper that you will need to cover them. We suggest you make sure there is a little extra just in case you need it.
Prep your walls.
First you will need to remove any switch and outlet covers, as well as any nails or screws in the wall.
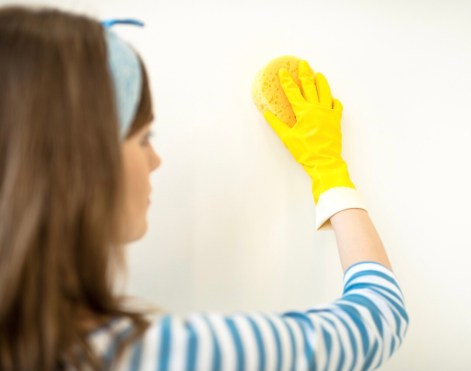
Next you can clean your walls with a sponge or cloth and a mild all-purpose cleaner. Good ole soap and water will do the trick. Allow the wall to dry completely before moving on.
Set it Straight

Applying the first piece is the most important because it will set the standard for the rest of the pieces. You can easily set it straight by using your ruler, level, and pencil to mark the place you need to stick it to.
First mark the width of your wallpaper on the wall with your pencil. Then use your level or ruler to draw a line from top to bottom.
Cut the length of wall paper strip that your will need.
Once you have the position mapped out and your first strip cut to the proper length (don’t worry if it is a tad bit long. You can always trim it at the bottom), you are ready to peel off the wallpaper backing in sections and carefully begin sticking on the first piece. Work slowly from the top to the bottom until you have the entire section on the wall, then move on to the the next piece.
Cut Around Obstacles

You can use your utility knife to cut around light switches, outlet, windows, vents, or any other parts of your wall that you have to work around.
Match Patterns

Pay attention to lining up your pieces if you have chosen home wallpaper with a pattern. Don’t worry, this shouldn’t be too tricky to do.
Smooth Out the Bubbles

As you go, you can use your wallpaper smoothing tool to work out any bubbles and to make sure the adhesive backing has a firm hold on the wall for a long lasting application.
Final Details

After following all of our steps for applying wallpaper, its time to put back on the switch and outlet covers, rehang wall decor, and move back furniture. Congratulations, you’ve done it! Now you can sit back and enjoy.
Or, if you are like us, start searching for your next home DIY Project. Be sure to scroll through our pages for more great ideas.

Hi, I’m Megan, the creative voice behind DIY Detectives. Within these pages you will find bits and pieces of my life as a wife to a former Marine and a mom to five kiddos. I love sharing tips, trips, and tutorials of all the things we take on at home. After all, life in general is just one big DIY project.
Also, feel free to follow me on Pinterest for more great ideas.